How to Troubleshoot Hayward Variable Speed Pumps
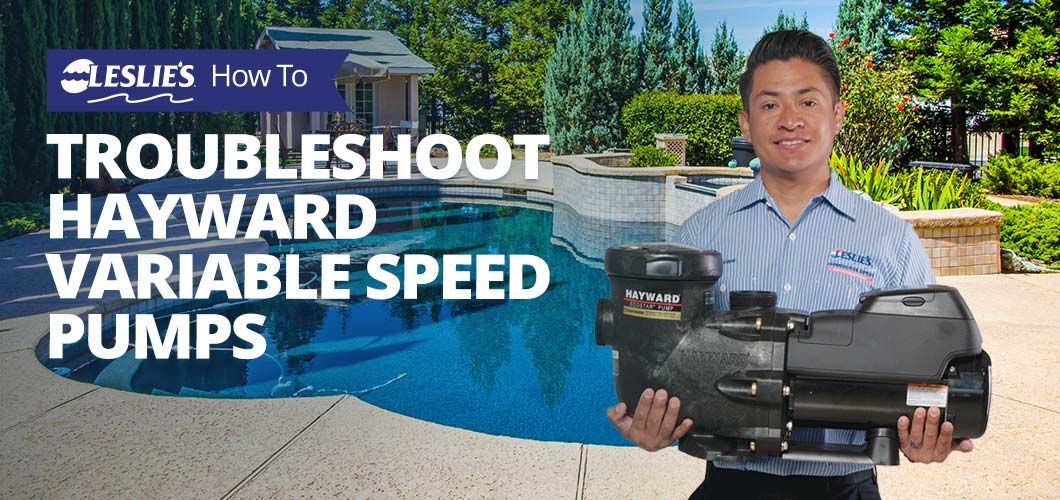
When it comes to versatility, reliability, and energy efficiency, Hayward offers a great selection of variable speed pumps for every pool. But when your pump isn’t working as expected, or if it’s throwing an error code, you’ll need to figure out the issue quickly to keep your pool system running smoothly. Keep reading to learn how to troubleshoot and fix issues on a Hayward EcoStar or PowerFlo variable speed pool pump.
Hayward Variable Speed Pump Troubleshooting
If you’re the DIY type, and you’re confident in making variable speed pool pump repairs on your own, just remember: SAFETY FIRST! Before attempting to disassemble or repair the pump on your own, always flip the breaker switch so you turn off power to the pump. This will prevent serious injury and/or the risk of pump damage.
NOTE: For problems involving electrical or voltage issues, you may want to hire a licensed electrician or pool professional to help troubleshoot and your pump. For warranty repairs, refer to the manufacturer's guidelines.
Motor Will Not Start

If the motor hums but doesn’t start, you’re likely dealing with a jammed impeller. This can happen when the impeller gets clogged with debris. Open the pump and clear the blockage.
If your EcoStar or PowerFlo pump’s motor simply won’t start, begin troubleshooting by checking the terminal board connections. They should agree with the wiring diagram printed on the pump data plate label. Next, ensure that the pump is wired properly for the available field supply voltage (230VAC). Also check for loose wiring connections, open switches/relays, tripped circuit breakers, and/or blown fuses, and fix or replace as necessary. As in our humming motor scenario, you’ll also want to check if there’s debris obstructing or clogging the impeller. After removing the pump lid and basket, reach into the voute housing. Manually rotate the motor shaft, which will allow you to assess free movement.
Motor Shuts Off
First, check to see if there’s a low voltage issue, or if there’s a power drop happening at the motor on your Hayward variable speed pool pump. This is most frequently caused by undersized wiring. We strongly recommend hiring a certified professional to verify and correct any issues with electrical connections.
Pump Will Not Prime

A pump that won’t prime can’t work properly, so it won’t get you very far. In most cases, this issue is caused by an air leak. Check all pipe and union connections on the suction side, and tighten or repair as necessary.
Also check to make sure the strainer housing and skimmer basket are free of debris. If the pump or strainer housing are empty, make sure it’s filled with water. The cover o-ring should be clean, well lubricated, and properly seated in the o-ring groove to ensure a proper seal when you put the cover back on. There should be no cracks in the cover, and it shouldn’t show signs of warping.
If there are no signs of plumbing cracks or leaks, and all valves, o-rings, and gaskets are well lubed and in good condition, you might be dealing with a blockage. Seek professional help in clearing blockages from the suction line.
Low Flow Rates

In general issues related to low flow rates have to do with blockages in the strainer or the suction line. Make sure the pump and skimmer baskets are free of debris, the impeller is cleared of blockages, and seek the help of a pool professional if you suspect a clog in the plumbing. If a plugged, restricted, or damaged impeller is to blame, replace the impeller and install a new seal assembly.
If you have a suction side pool cleaner, check to see if the cleaner inlet is impacted, and clean out the inline leaf canister (if applicable).
Check your pool filter to make sure it’s clean. You may also want to check that your valves are all the way open, and that there are no air leaks in the system.
Another cause of low flow rate has to do with the plumbing size. When purchasing your new pool pump, make sure that it's sized correctly for your plumbing and the rest of your pool equipment.
In some cases, insufficient voltage to the motor may also cause flow rate issues.
Noisy Pump

Variable speed pumps are designed for quiet operation, so it’s extremely jarring when they start making lots of extra noise.
Like with some of the other troubleshooting steps listed above, one of the first things to check for is an air leak or low water levels. When air gets in the pump, it can lead to cavitation, which requires new parts to fix the noise problem.
Vibration noises can be caused by improper mounting. The pump should be mounted securely to the equipment pad on a flat and level surface. In some instances, adding a small rubber pad under the mounting feet can help eliminate the buzzing or rattling vibration.
Occasionally, small rocks or hard debris may get caught in the pump housing, rattling around on the impeller as the pump runs. Clean out the pump housing to keep this from becoming a bigger issue.
If there’s a squeaky or whining noise, you may be dealing with worn-out motor bearings or damaged seals. Normal wear and tear, rust, overheating, and/or concentrated pool chemicals can all cause seal damage, which allows chlorinated water to seep in and wipe out the grease. Replace leaking seals immediately.
Interference with Home Automation or Power Line Communication Equipment
When this happens, first check to see if the wiring diagram printed on the data plate label matches the terminal board connections. Also check for loose wiring connections, and tighten if necessary. You may need to install a noise filter to prevent further issues with equipment interference.
PRO TIP: Having trouble with your pool pump or motor? Leslie's can help! Schedule an appointment with a certified Leslie's technician, or bring your motor to your nearest Leslie's location for troubleshooting and repair or replacement.
Hayward EcoStar Pump Error Codes & Drive Error Messages
According to the Hayward EcoStar user manual, all errors can be reset by pressing "Stop/Resume" when the error message is shown. You can also clear the code by cycling power applied to the pump after the error occurs. If troubleshooting doesn’t resolve the issue, reach out to Hayward Technical Service or a trusted pool equipment specialist for help. If a "Drive Error" or "Check System" code appears, this table will help you pinpoint the root of the problem.
| Drive Error or System Code | Troubleshooting |
| AC Voltage Too High | AC line voltage has risen above 270VAC, and the pump has stopped. Verify the line voltage is within 10% (207–253VAC) of pump rated voltage at the terminal block. |
| AC Voltage Too Low | AC line voltage has dropped below 183VAC, and the pump has stopped. Verify the line voltage is within 10% (207–253VAC) of pump rated voltage at the terminal block. Make sure that all power supply wiring to the circuit breaker and terminal block is securely connected. |
| DC Voltage Too High | The internal DV bus voltage has risen above 395VDC. Verify the line voltage is within 10% (207–253VAC) of pump rated voltage at the terminal block. |
| DC Voltage Too Low | The internal DV bus voltage has dropped below 270VDC, and the pump has stopped. Verify the line voltage is within 10% (207–253VAC) of pump rated voltage at the terminal block. Make sure that all power supply wiring to the circuit breaker and terminal block is securely connected. |
| Drive is Overheated | The internal components of the drive have overheated. Make sure that the vents on the motor are clear of debris and obstructions. Check ambient air temperature, and make sure it's below 122°F. |
| Drive Overload | This indicates that the motor is drawing excessive current. Carefully check over the pump impeller, diffuser, shaft seal, and motor for problems or signs of damage, and replace parts as necessary. Verify motor connections to the drive. |
| Heatsink Overheated | The heatsink of the drive has overheated. Make sure that the vents on the motor are clear of debris and obstructions. Check ambient air temperature, and make sure it's below 122°F. The drive will continue monitoring the temperature, and the pump will restart automatically when the temperatures return to an acceptable range. |
| PFC Circuit Hi | Indicates high internal drive voltage. Check that the line voltage is within 10% of the rated pump voltage. If not, replace the motor drive assembly. |
| PFC Circuit Low | Indicates low internal drive voltage. Check that the line voltage is within 10% of the rated pump voltage. If not, replace the motor drive assembly. |
| Pump has Stalled | The drive has lost control over motor shaft rotation, or the drive was unable to start the motor after three attempts. Check pump impeller, diffuser, mechanical shaft seal and motor for any issues or binding. Verify all motor connections to the drive. |
| Drive Failed to Start | The drive is unable to start the motor. Check pump impeller, diffuser, mechanical shaft seal and motor for any issues or binding. The drive will try to restart the motor three times before the “Pump has Stalled” error is displayed. |
| Power Interrupted | No action necessary. The system is resetting itself after regaining power. |
| Prime Failed | The pump is unable to prime within 15 minutes or startup. Inspect inlet and discharge ports for potential air leaks and cracks in the plumbing. Repair plumbing and fittings as needed. |
| Communication Failed | There are communication issues between the user interface and the motor drive. Verify connections between the two. |
| Defaults Loaded | The drive memory has been temporarily corrupted. Contact Hayward Technical Service for assistance. |
| Memory Failure | The drive memory has become damaged or corrupted. You may need to replace the motor drive assembly. Contact Hayward Technical Service for assistance. |
| Error Code XX | The user interface is receiving an error from the drive that it does not understand. Contact Hayward Technical Service for assistance. |
| Sensor has Failed | Replace motor and motor drive assembly. |
Hayward PowerFlo VS Pump Fault Error Codes
When a fault error code pops up on a PowerFlo VS pump, the first thing you'll notice is that the ERROR light turns on. You'll also see an error code showing in the LED display. These error codes won't clear until the root of the issue is fixed.
Once resolved, you can clear the code history. From standby mode, press "O" then "SET" within 1 second. Press the up button to scroll through error codes, and the down button to delete the current record. To delete all error records, press and hold the down button for at least three seconds.
| Code | Meaning |
| 01 | DC – link over voltage |
| 02 | DC – link under voltage |
| 03 | DC – link voltage is too low |
| 04 | IPM over current software protection |
| 05 | IPM over current hardware protection |
| 07 | AC input over voltage |
| 08 | AC input under voltage |
| 10 | Electric thermal protection for pump overload |
| 11 | Motor over speed |
| 13 | IPM over temperature |
| 16 | Motor out of step |
| 17 | PFC output DC low voltage |
| 20 | Earth short circuit |
| 21 | Motor Phase short circuit |
| 22 | Output phase missing |
| 31 | Communication error with master |
| 41 | Current sensor circuit error |
| 42 | Inrush current preventing relay error |
| 43 | Voltage sensor error, AC voltage and DC voltage do not match |
| 51 | IPM temperature sensor circuit error |
| 60 | Motor rotor lock |
| 61 | DSP ROM error |
| 62 | DSP RAM error |
| 63 | DSP watchdog error |
| 66 | Communication error with driver |