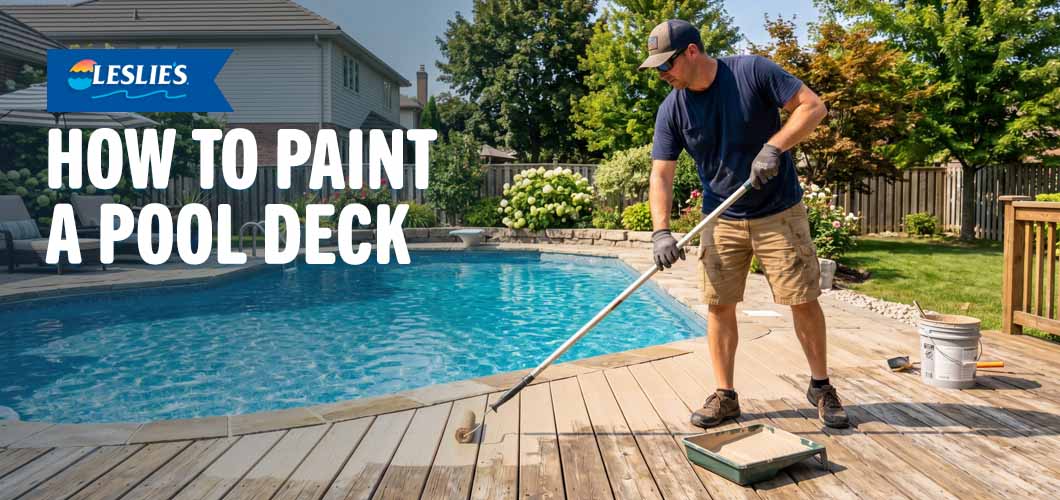
How to Paint a Pool Deck
Who doesn't love a weekend DIY project? With a little creativity and elbow grease, you can transform any area inside or outside your house into a beautiful new space. Even your pool deck. That's right, we said your pool deck! With a gallon or two of pool deck paint and some know-how, you can give your pool deck a fresh new look.
So, before you spend thousands of dollars on a professional pool deck renovation, take a few minutes to discover how to repair and revitalize your pool deck — all by yourself.
Repair Your Deck Before Painting
Before starting your painting project, examine your pool deck and repair any expansion joint damage or minor cracks. The expansion joint is the caulk-filled gap between each slab of concrete or between your pool deck and pool wall. This space allows the concrete slabs to expand in cold weather, without squishing each other or the pool wall. If the caulk is torn or missing, dirt and debris will fall into the gap and limit how much room the deck has to expand.
How to Re-Caulk Your Pool Deck
Thankfully, repairing a damaged expansion joint is fairly simple. Head to your local hardware store to pick up the following supplies to re-caulk your deck.
Needed Supplies:
- Knee protection
- Sharp knife or flathead screwdriver
- Pressure washer, shop vac, or leaf blower to clear the gaps of dirt and debris
- Backer rod (buy extra in case you need to double up to fill the gaps)
- Self-leveling sealant and caulking gun
- Gloves
- Old rag or a piece of cardboard
- Waterproof Epoxy
Once you've acquired the necessary supplies, work through the following steps to repair your pool's expansion joints.
Expansion Joint Re-Caulking Steps:
- Use a sharp knife or flathead screwdriver to carefully remove the damaged caulk from the joint. This is where the knee protection comes into play. You will be kneeling down for a while, so protect your joints!
- Clean the damaged area, clearing away any debris or dirt around the joint. If the joint is filled with dirt, use a pressure washer, shop vac, or leaf blower to clear the gap.
- Press the backer rod down 1/4" into the expansion joint gap. Don't press the backer rod down too far, or else you will need to use a lot of caulking to fill the gap. Place two pieces side by side if one piece doesn't fill the entire gap.
- Put on your gloves and assemble the self-leveling sealant and caulking gun. Slowly fill the gap with caulk until the caulk is level with the surface of the deck. Don't worry if it looks lumpy or uneven upon application, it will level itself as it dries.
- Work your way around the pool to any areas that need repair. Place the caulk gun on an old rag or piece of cardboard between uses to keep caulk from dripping onto the deck.
- Let the caulk dry for at least 24 hours before continuing your deck painting or resurfacing project.
Repairing small cracks is even easier than fixing a damaged expansion joint. Simply clean the crack of debris, use a putty knife to apply waterproof epoxy or grout, and let it set for 24 hours.
PRO TIP: Severe, deck cracks often indicate structural damage within your pool, which can cause leaks, equipment damage, and even flooding. Speak with a pool repair professional about fixing severe deck cracks to avoid further pool damage.
Pool Deck Painting
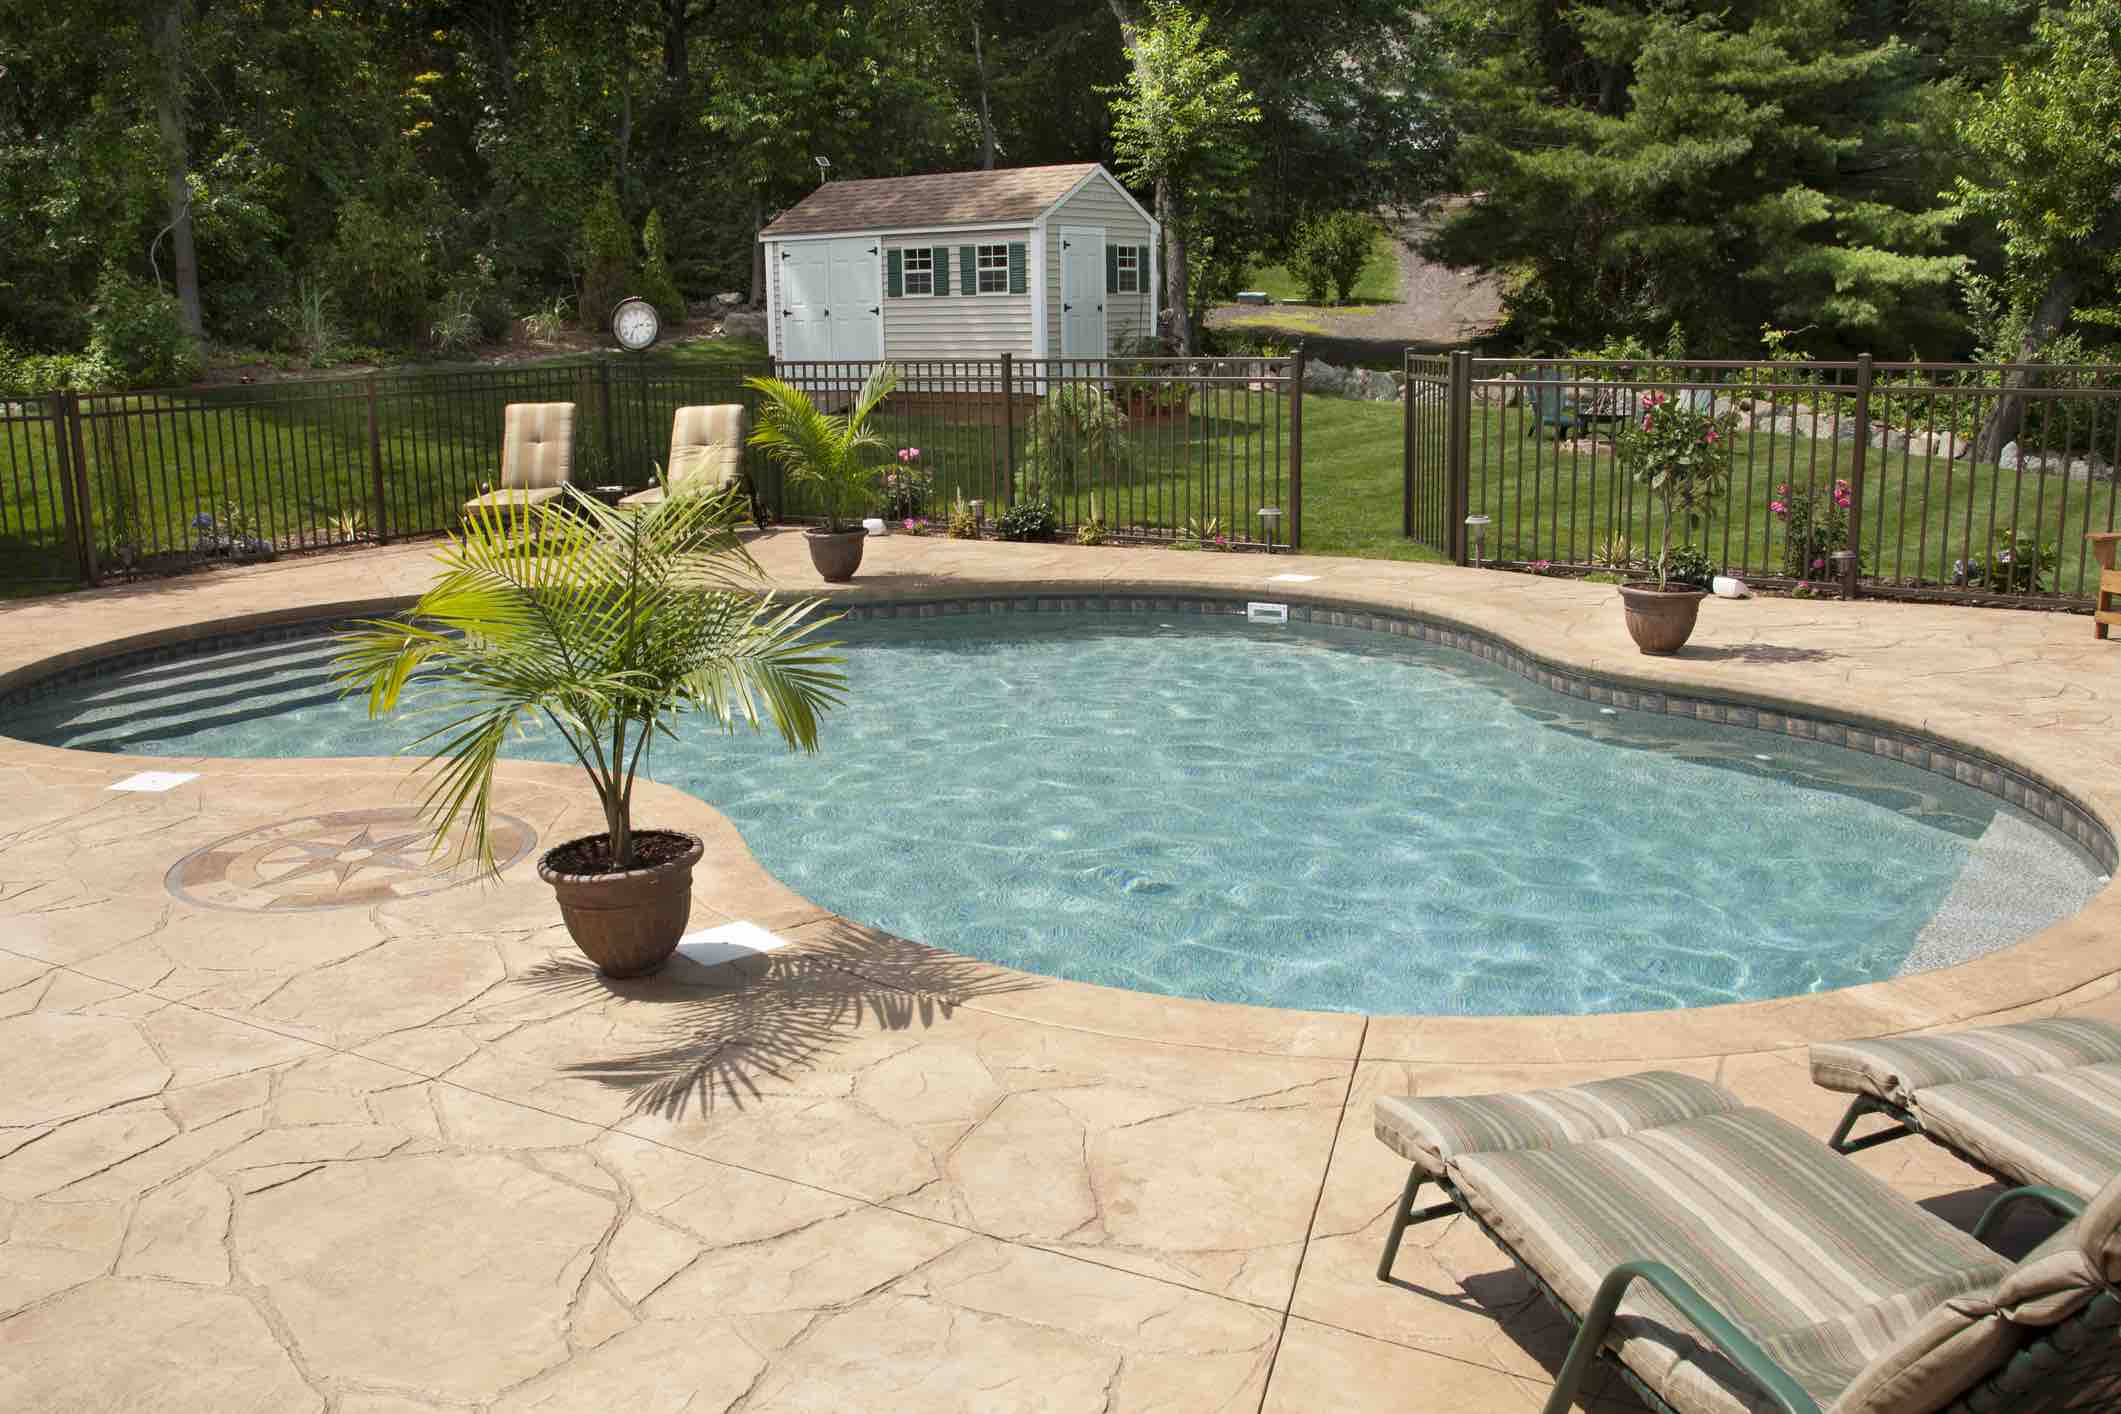
Once you've repaired any minor cracks in your pool deck, it's time to start the makeover. There are many choices when it comes to the methods and materials used to resurface your deck. And like anything, there are affordable, easy-to-complete options, and much more costly, time-consuming options that may require professional help.
Painting or staining is the quickest and easiest way to give your concrete or wood pool deck a facelift. It requires minimal supplies and can be completed in under 3 days, perfect for a holiday weekend project! Other upgrading methods, like concrete scoring, adding wood overlay, or installing stone or brick pavers, should be done by a professional contractor.
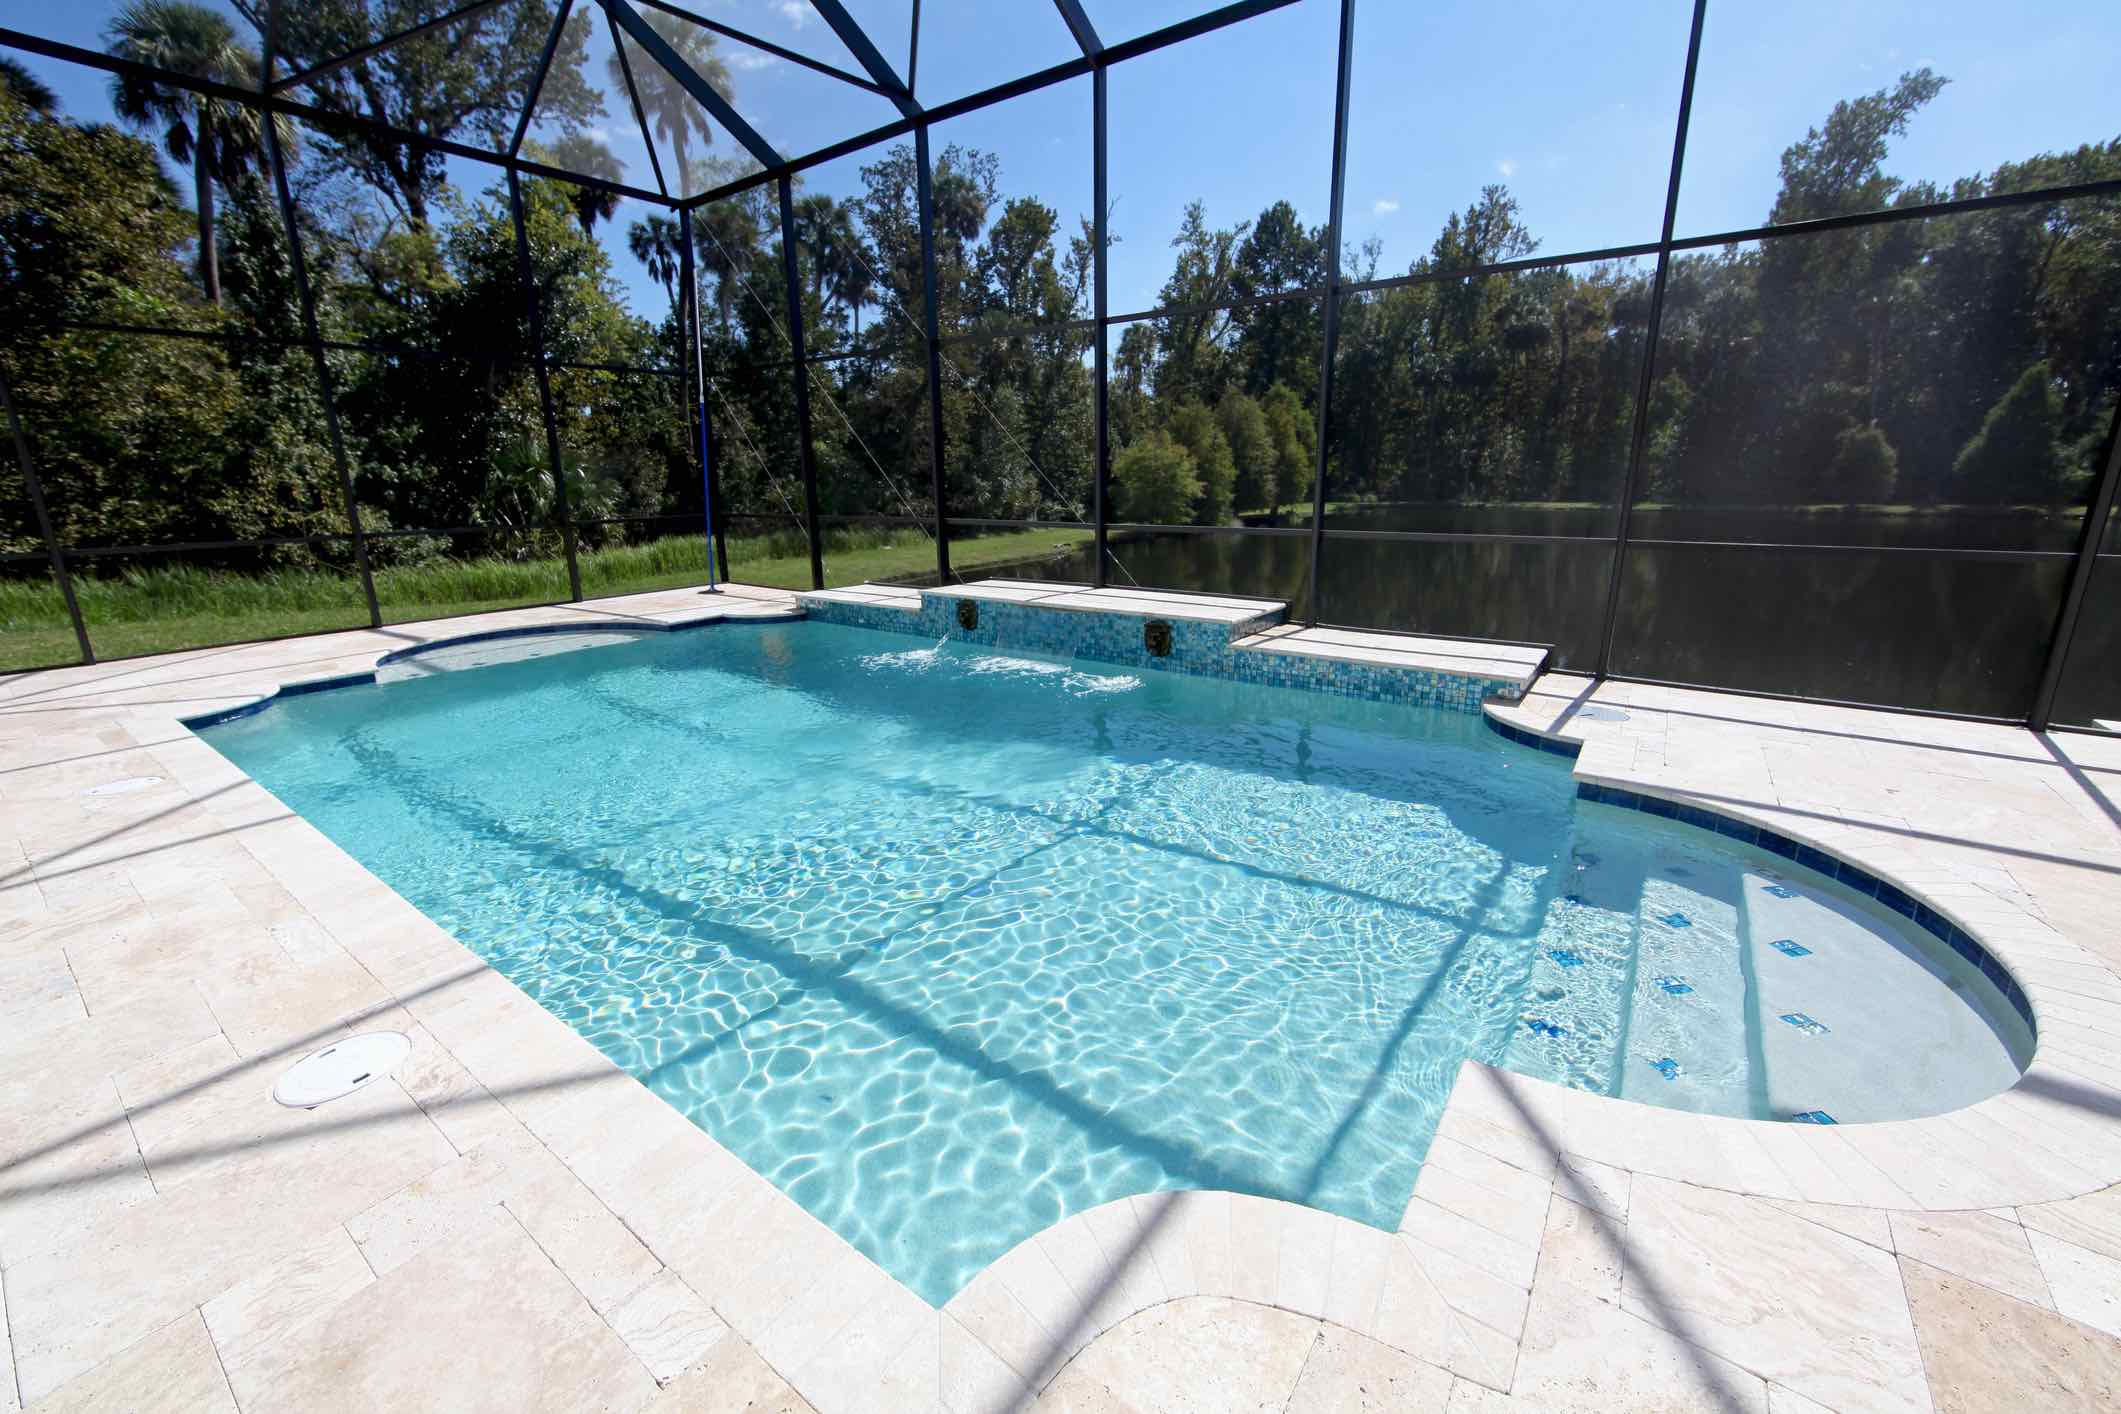
Stone Pool Deck

Brick Pool Deck
Paver Pool Deck
PRO TIP: Concrete and wood are the easiest pool deck finishes to paint or stain on your own. Other materials like brick, stone, pavers, or tile require special skills and equipment to resurface. Consult with a professional before attempting to resurface these materials.
How to Prep Your Pool Deck for Painting
If you're a painter or an experienced DIY-er, you know that prepping an area before applying paint or stain is key to achieving a quality, long-lasting end result. Preparing your pool deck for painting requires a bit more work than prepping a bedroom wall or kitchen cabinet. Head to your local Leslie's and nearest hardware store and pick up the following supplies to get started.
Needed Supplies:
- Heavy-duty wide broom
- Leaf blower
- Plastic sheeting
- Painter's tape
- Leslie's Clean and Prep Solution
- High-quality roller paint brushes
- Telescoping brush pole
- Medium-sized angled paint brush
- Paint or stain primer for concrete or wood pool decks
Pool Deck Painting Prep Steps
- Move gravel, dirt, or other loose ground away from the edge of your pool deck. This will prevent the gravel or dirt from getting stuck in the wet primer and paint.
- Use a leaf blower to clear your deck of any leaves, dirt, or other debris.
- Cover the pool with plastic. Tape plastic sheets across your pool to prevent any prep material, primer, or paint from getting into your pool water.
- Mix Leslie's Clean and Prep Solution with water and apply it to your pool deck. Thoroughly clean the deck with a pool brush or wide broom, then rinse.
- Let the deck dry completely before applying a primer.
- Attach the roller brush to the telescoping brush pole, and apply a paint or stain primer evenly over the entire deck. Use a smaller, angled brush for more precision in corners and around pool deck equipment.
How to Paint Your Pool Deck
Grab your brushes and painter's smock, because now it's time for the fun part — painting your deck! Leslie's Premium Patio & Deck Paint gives you five acrylic paint colors to choose from to spruce up your concrete pool deck. Not only are the paints beautiful, but the durable, slip-resistant acrylic material offers protection for both you and your deck. Each gallon of Leslie's Premium Patio & Deck Paint covers about 150 - 165 sq. feet and requires two coats for proper coverage. We recommend buying at least 2–3 gallons, depending on the size of your pool deck.
Other than the pool deck paint, there's no need to buy more equipment for this step. Use the same brushes you used to apply the primer, just be sure to clean them first.
Start by spreading a single coat across your pool deck with the large roller brush. Let the first layer of paint dry for 24 hours, then add another layer for extra coverage and color saturation. Use the small angled brush to paint corners, edges, and around equipment or plumbing.
Keep in mind that concrete primer and paint are not suitable for wooden decks. If you have a wood pool deck, buy primer and paint or stain specifically made for wood. Your local hardware store will have exactly what you need to paint or stain your wooden pool deck!
Painting your pool deck is not only more budget-friendly than hiring professionals to do a full renovation, it's also a lot of fun! There's nothing like putting your own creative touch on a DIY project, and feeling that sense of accomplishment when you see the beautiful end result.
Stop by your local Leslie's to speak with a pool expert about your next DIY pool project.
JUMP IN WITH US ON SOCIAL!