DIY Hot Tub Cover: Make Your Own Spa Cover
Hot tub covers are a large part of our business here! That's why when we heard about people making their own DIY hot tub covers, we had to look into it. And turns out, this is actually a totally doable project! So, if you're looking to get crafty, keep reading to learn how to make your very on hot tub cover.
Needed Materials
- 2- 2" thick 4x8' polystyrene foam boards
- Heavy-duty adhesive in caulk tube
- 2 - 4x8' plywood boards
- Heavy-duty plastic
- Exterior paint for wood
- 2 - 4' continuous hinges and screws
Step 1: Measure Your Hot Tub
You know what they say, measure twice, cut once. Measure both the inside and outside dimensions of your spa shell, and draw a guide on paper. Your DIY hot tub cover must be large enough to sit on the rim of the spa, without the risk of falling in if you just bump into it, or look at it wrong. Both the wood and foam will be closer to the outside diameter, so that the foam rests on top of the spa. Alternatively, if you think you can get a better seal by having the foam cut to fit the inside of the spa (while the wood extends over the spa edge), you can cut the foam a few inches smaller than the plywood.
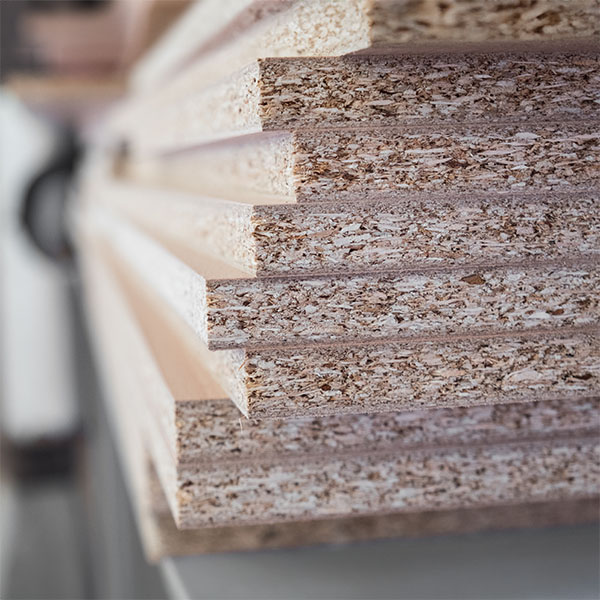
Step 2: Cut the Materials
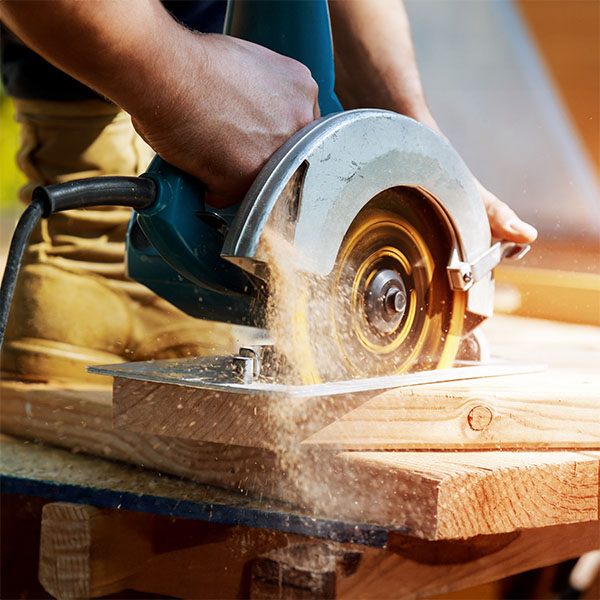
Measure again before cutting, just to be sure. For square spas, you'll have less cutting to do of the plywood and foam boards, in fact, you may choose to not even cut them at all. For spas with rounded corners, octagonal cuts or circular spas (hot tubs), break out the jig saw, so you can cut the radius curve in the plywood. The foam can be cut with a sharp kitchen knife or with a hacksaw blade. After you have cut both pieces, lay them on top of each other, to remove any rough edges and to make sure that they are pretty close to identically sized.
Step 3: Wrap the Foam in Heavy Plastic
You won't get the vacuum sealed, heat welded seams that you see on the best hot tub covers, but it is still important to spend time wrapping the foam as tightly as possible to keep moisture from the spa from coming in contact with the foam board. Wrap it with painter's plastic, at least 4 mil in thickness. Wrap all sides like a gift box, folding over the corners and taping tightly, with a large roll of packing tape.
Step 4: Glue the Foam to the Wood Boards
Use a heavy duty adhesive like Liquid Nails, or something similar. Use a liberal amount, squirting it directly onto the wood. Be sure to cover all areas, with special attention on the edges. Press your wrapped foam board onto the board. Flip it over, so the foam is on flat ground, and place a few heavy items on top of the wood, to help improve adhesion.
Step 5: Paint the Wood and Install the Hinge
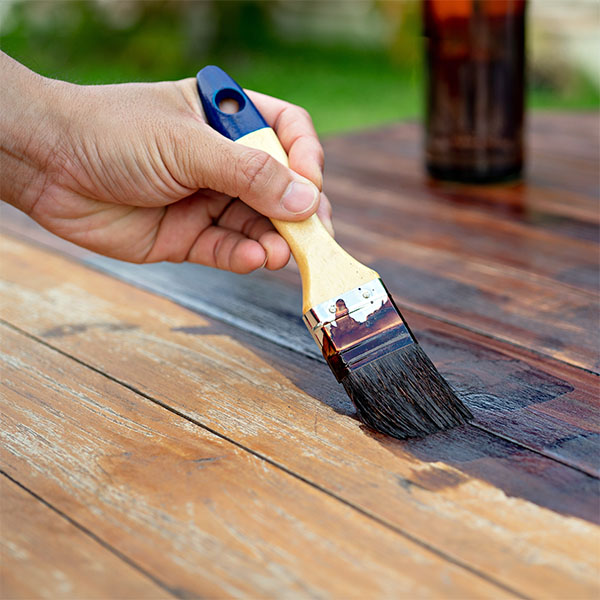
Sand the edges to remove any splinters or rough spots. Use exterior paint, and don't be afraid to go heavy on it, or paint two coats on the side that faces up. After the paint dries, you can install the hinge. You can use several door hinges, or use one long continuous hinge, with a 1/4" screw in every fifth hole.
That's It! Five steps. The only thing left is to put it on the spa (use two people if it's heavy) and check for heat loss. Now to come up with a solution to the heat loss that's coming through the hinge, or at certain spots around the spa rim, like the control panel area. If you have a cover lifter, you may also be able to connect your cover lifter to work with your new spa cover.
Reasons for Not Making Your Own Spa Cover
While making your own hot tub cover is possible, there are some risks to consider. So before filling your cart at the hardware store, check out these warnings...
- The heat retention of this type of spa cover is far less, easily half of what a real spa cover can provide.
- Homemade hot tub covers may be difficult to latch or lock, to keep the spa safe and secure.
- Without steam stoppers and skirts to prevent heat loss, a spa in cold weather may be unable to stay hot.
- Without a rigid support panel, a DIY spa cover won't stay flat, and quickly warps and bends to the water.
- When it bends toward the water, rain and snow melt will drain into the spa, bringing contaminants.
For a real cover, see the benefits of a spa cover. You can still make a contribution, however, and put your talents to good use, like building a wood bench or shelves to wrap around the spa. Rocks and plants? How about a gazebo, privacy screen or some pergola around the spa?
JUMP IN WITH US ON SOCIAL!